How to Sew a Laptop Case

How to Sew a Laptop Case: A Step-by-Step DIY Guide
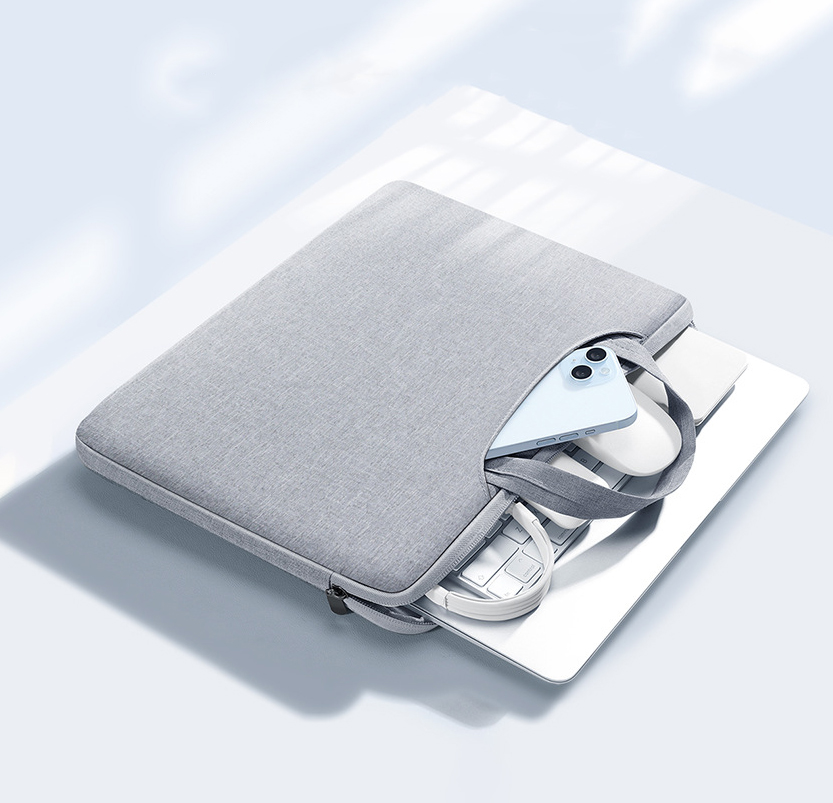
Sewing your own laptop case is a rewarding project that combines protection, personal style, and practicality. This guide will walk you through the entire process, from selecting materials to the final stitch.
Why Sew Your Own Laptop Case?
Before you begin, understand the benefits of a DIY approach. A custom case ensures a perfect fit for your specific device, lets you choose durable materials you trust, and adds a unique personal or professional touch. It’s also a cost-effective solution for those with basic sewing skills.
Who This Guide is For
-
Beginners: We’ll use straightforward techniques.
-
DIY Enthusiasts: Looking for a satisfying, functional project.
-
Small Businesses: Interested in creating prototypes or small batches.
-
Materials & Tools You Will Need
Gathering everything beforehand ensures a smooth sewing process.
Essential Materials
-
Outer Fabric (½ yard): Choose a sturdy material like canvas, denim, duck cloth, or upholstery fabric.
-
Inner Lining Fabric (½ yard): Use a soft fabric like cotton, felt, or flannel to protect the laptop’s surface.
-
Padding/Protective Layer (½ yard): This is crucial. Use medium-weight fusible fleece, foam stabilizer, or bubble-wrap lining for shock absorption.
-
Closure: A sturdy zipper (4-6 inches longer than your laptop’s width), Velcro strips, or snap buttons.
-
All-Purpose Thread that matches or contrasts with your fabric.
-
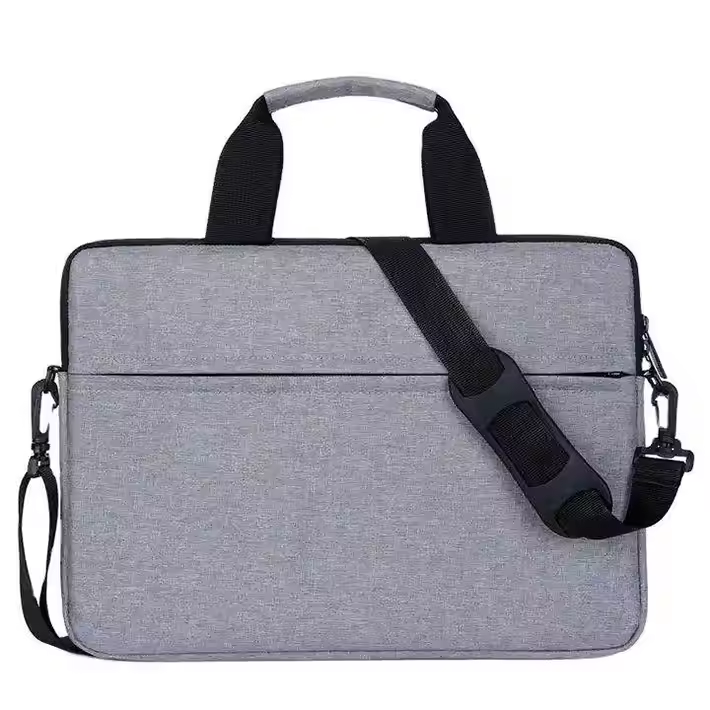
Required Tools
-
Sewing machine (or heavy-duty needle for hand sewing)
-
Fabric scissors or rotary cutter
-
Measuring tape and ruler
-
Straight pins or fabric clips
-
Iron and ironing board
-
Zipper foot (if using a zipper)
Step-by-Step Sewing Instructions
Follow these clear steps to create a simple, effective padded laptop sleeve.
Step 1: Measure and Cut Your Fabric
Precision here is key to a good fit.
-
Measure Your Laptop:
-
Width (W): Left to right.
-
Height (H): Top to bottom.
-
Depth (D): Thickness when closed.
-
-
Calculate Fabric Dimensions:
-
Main Panel Width: (W + D) + 1 inch (for seam allowance and ease)
-
Main Panel Height: (H + 1 inch) (for seam allowance)
-
Cut TWO rectangles of this size from each of the following: Outer Fabric, Lining Fabric, and Padding.
-
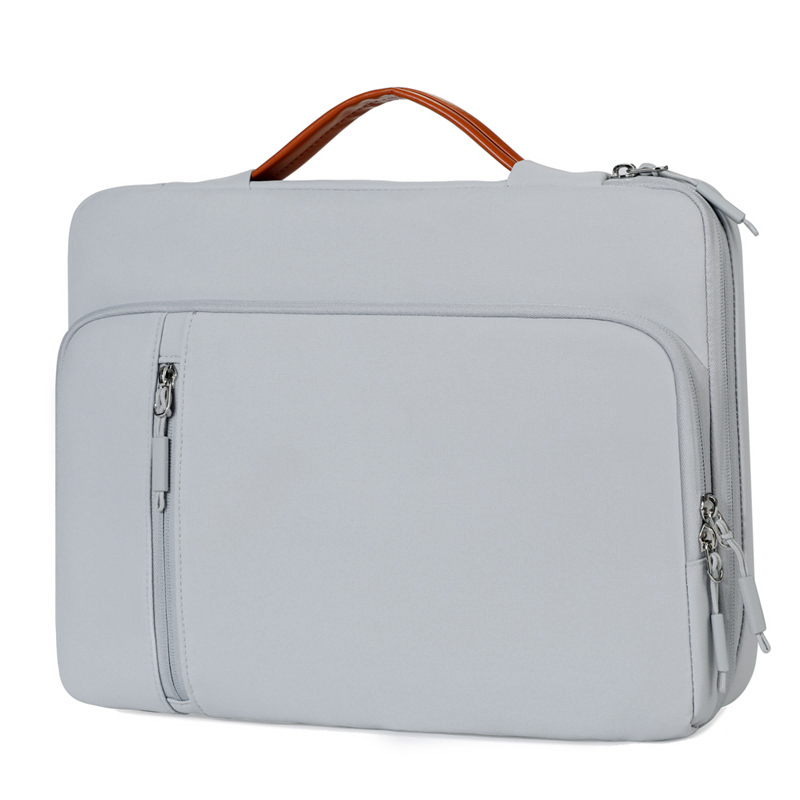
-
Step 2: Create the Padded Outer Shell
This forms the protective structure of the case.
-
Fuse Padding to Outer Fabric: Following manufacturer’s instructions, iron the padding material to the wrong side of both outer fabric pieces. You now have two padded outer panels.
-
Pin and Sew the Sides: Place the two padded panels right sides together. Pin around the three sides (left, right, and bottom), leaving the top edge completely open.
-
Sew and Reinforce: Using a ½ inch seam allowance, sew the three pinned sides. Backstitch at the beginning and end. Clip the bottom corners diagonally to reduce bulk, then turn the shell right side out. Push out the corners and press flat.
Step 3: Assemble the Lining
The soft, inner layer.
-
Sew the Lining: Place the two lining pieces right sides together. Pin and sew around the same three sides (left, right, bottom) with a ½ inch seam allowance, but leave a 4-5 inch gap unsewn in the center of the bottom seam. This is your turning gap.
-
Do Not Turn: Leave the lining inside out.
Step 4: Combine Shell and Lining
This is where the case takes shape.
-
Insert Shell into Lining: Take your outer shell (right side out) and slip it inside the lining (wrong side out), so the right sides of the shell and lining are facing each other. Align the top raw edges and side seams perfectly. Pin all around the top opening.
-
Sew the Top Edge: Sew all around the top edge with a ½ inch seam allowance.
-
Turn the Case Right Side Out: Reach through the gap in the lining’s bottom seam and carefully pull the entire case through it. Now, the right sides of both shell and lining will be visible.
-
Close the Lining Gap: Push the lining back inside the shell. Neatly press the open edges of the gap inward and hand-stitch it closed with a slip stitch or ladder stitch.
-

Step 5: Add the Closure
Secure your laptop inside.
Option A: Simple Flap with Velcro (Easiest)
-
Cut a rectangular fabric flap (attached or separate).
-
Sew a soft Velcro loop to the case front and the rough Velcro hook to the underside of the flap.
-
Stitch the flap to the back center of the case.
Option B: Integrated Zipper (More Professional)
-
This requires attaching the zipper between the outer shell and lining at the top edge in Step 4.1 before sewing them together. Use a zipper foot for precision.
Final Press & Finish:
Give the entire case a good final press with an iron. Topstitch around the very top edge (¼ inch from edge) for a clean, professional look that also helps the case hold its shape.
Pro Tips from a Manufacturer
These insights from the production floor will elevate your DIY project.
Choosing the Right Materials
-
For Maximum Protection: Use a neoprene core (from old wetsuits) sandwiched between fabric layers. It’s the gold standard for shock absorption.
-
For a Professional Feel: Use fusible foam stabilizer; it’s thin but creates a crisp, padded structure.
-
Water-Resistant Option: Use packcloth or nylon as your outer layer.
-
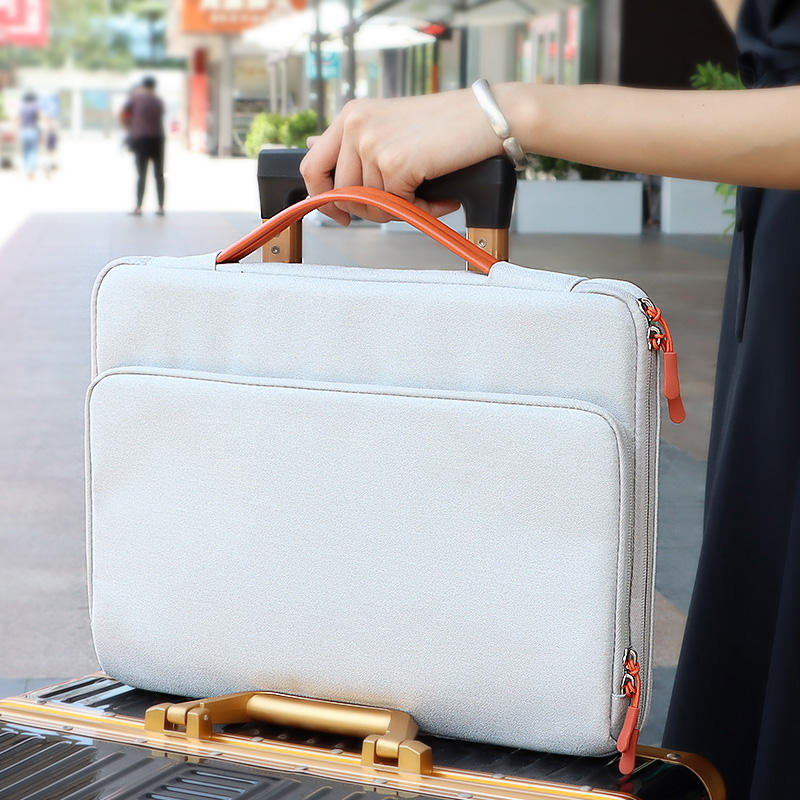
Reinforcing High-Stress Areas
-
Bar Tack at Corners: At the base of the flap or sides, sew a tight, short zig-zag stitch (a bar tack) to reinforce points that endure pull and stress.
-
Double-Stitch Seams: For heavy fabrics, sew the main side seams twice for durability.
Advanced Feature Ideas
-
Add an Internal Pocket: Sew a simple mesh or fabric pocket to the lining before assembly to hold a charger, pen, or cables.
-
Create a Handle: Attach a small fabric or webbing loop at the top center for easy carrying.
Common Questions (FAQ)
Q: What if I don’t have a sewing machine?
A: You can hand-sew using a strong backstitch. Use a thicker needle (like a darning needle) and heavy-duty thread, and be patient.
Q: How do I clean my homemade laptop case?
A: Spot clean with a damp cloth. Most materials are not machine washable, as this can damage padding and shape.
Q: Can I make a case for a tablet or e-reader?
A: Absolutely! Use the same method, adjusting the measurements to fit your smaller device perfectly.

Creating your own laptop case is a practical project that results in a genuinely useful item. By mastering these basics, you gain the skill to customize cases for any device.
Inspired but need larger quantities? This is exactly what we do. As a professional bag manufacturer, we help brands and businesses bring durable, well-designed laptop cases to market at scale. Contact us for a quote on your production project.
what-is-a-bag
what-is-a-messenger-bag-expert-guide
Related Article