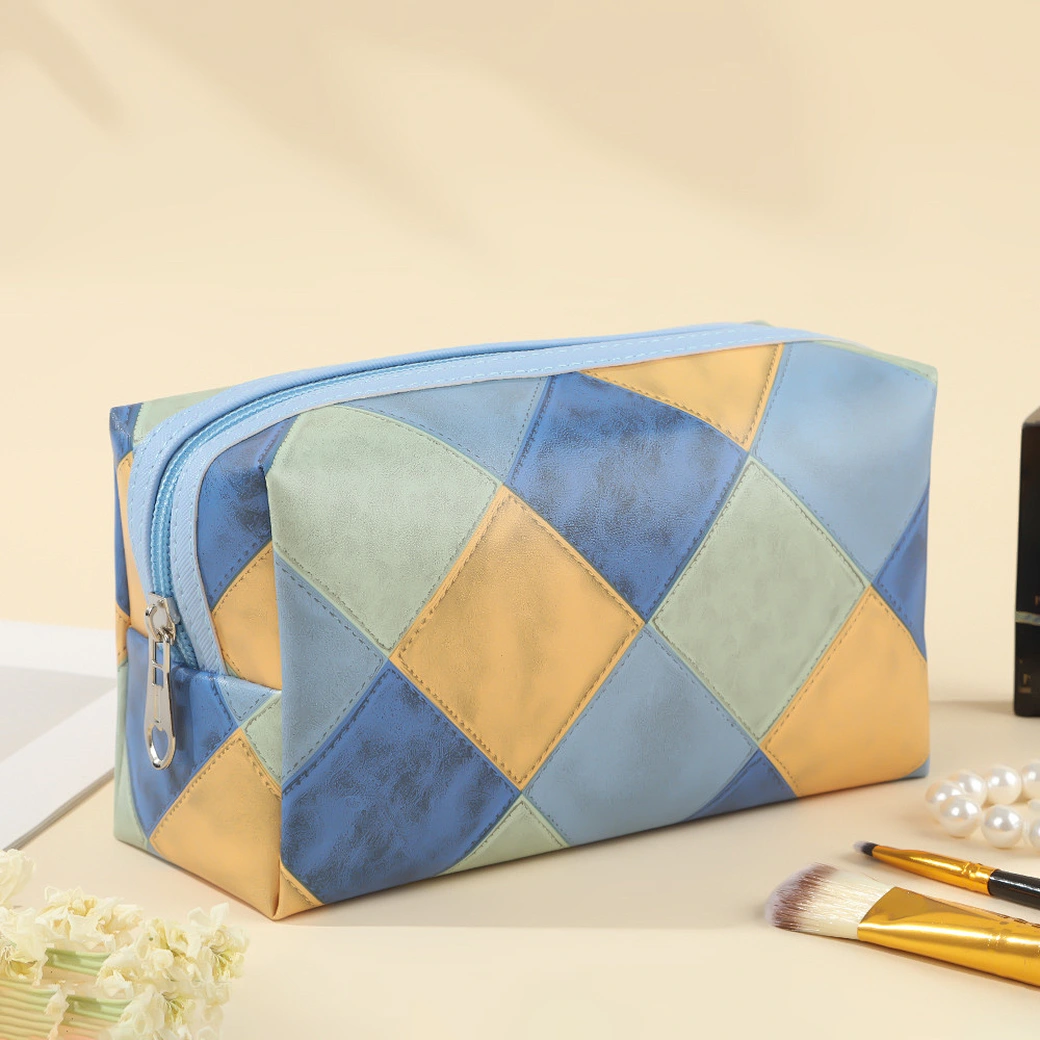
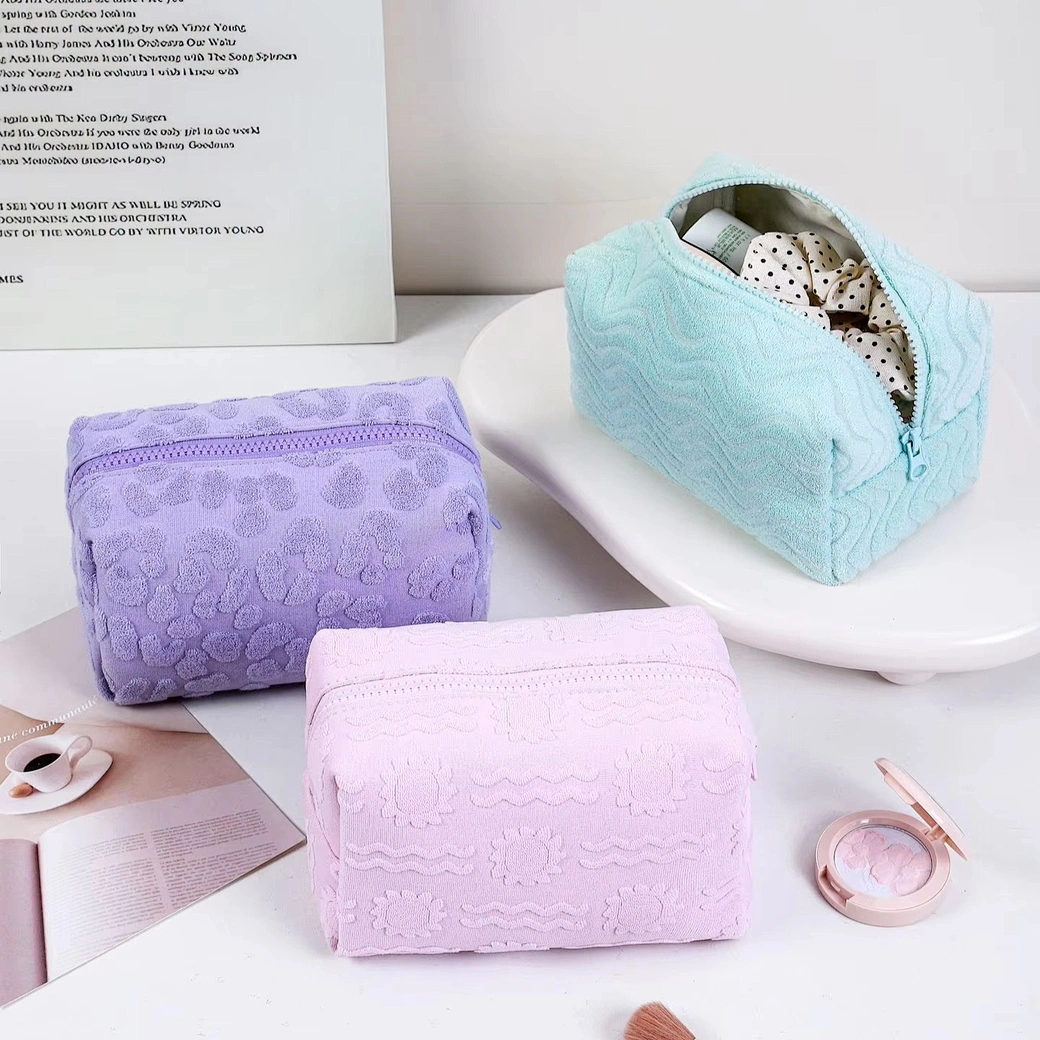
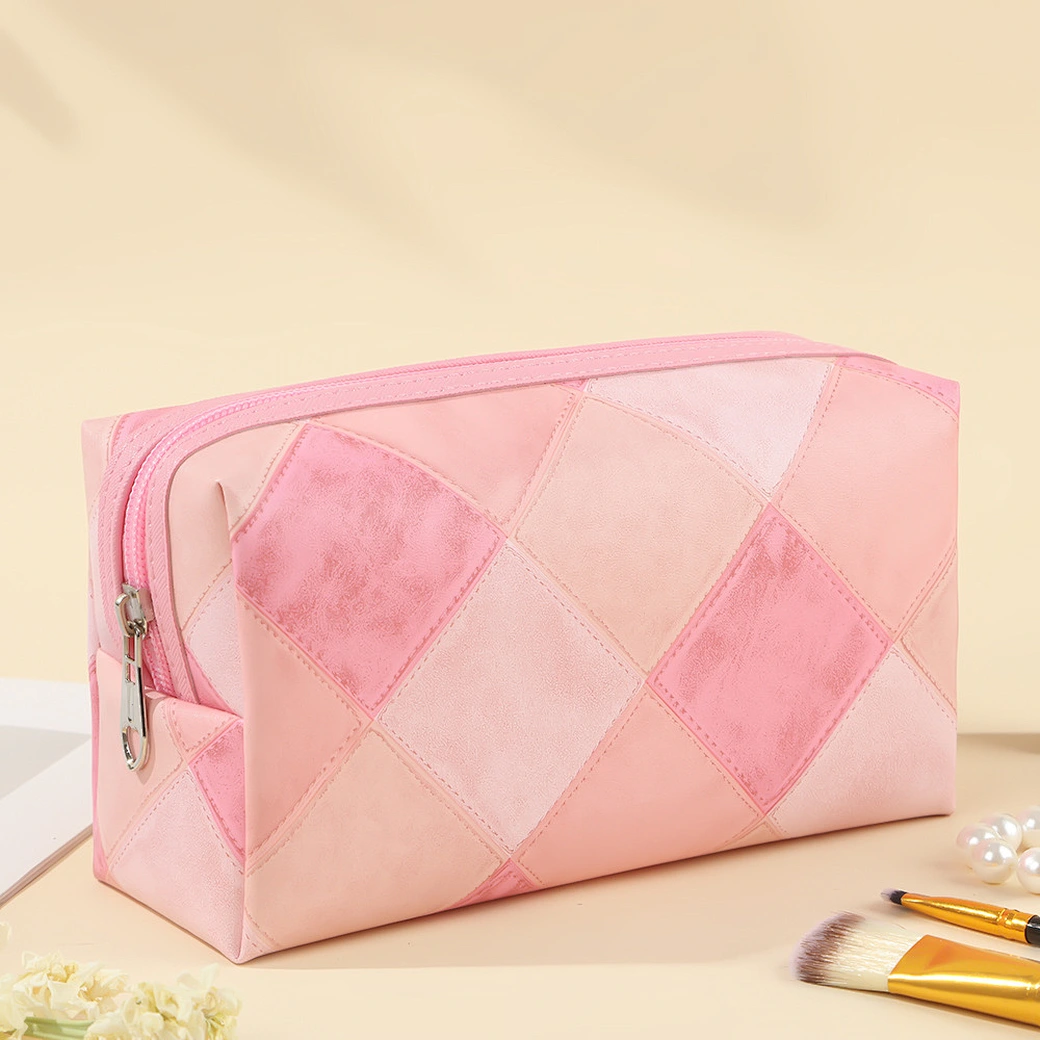
How to Sew a Makeup Bag: A Step-by-Step Guide to Creating Your Own Makeup Bag
How to Sew a Makeup Bag: A Step-by-Step Guide to Creating Your Own Makeup Bag
As a bag maker, I understand the allure of creating something both beautiful and practical. Sewing your own makeup bag is a truly fulfilling project that not only allows for full customization but also provides a valuable insight into the craftsmanship behind bag making. Whether you're a beginner or an experienced seamstress, this guide will help you create a professional-looking makeup bag that's perfect for your collection or as a personalized gift.
Why Sew Your Own Makeup Bag?
Making your own makeup bag offers numerous advantages over mass-produced bags. When you sew your own, you have complete control over the design, fabric, and sizing, allowing you to create a product that perfectly suits your specific needs and reflects your personal style.
From a manufacturer's perspective, I appreciate that DIY sewing allows for quality control that's often missing from factory production. You can choose durable materials and reinforce stress points to ensure your makeup bag can withstand daily use. It's also a cost-effective alternative to expensive store-bought products, especially when using scrap fabric or repurposing old clothing.
For those who care about sustainability, sewing your own bag is an eco-friendly choice that reduces waste and contributes to a more sustainable lifestyle by giving new life to materials that might otherwise be discarded.
Materials Required
Before beginning your project, gather the following essential materials:
• Fabric: Choose a medium-weight fabric such as cotton, canvas, or linen for durability and ease of sewing. You'll need about 1/2 yard of fabric for the main fabric and lining.
• Interlining: This adds structure and stability to the bag. Heat-fused interlining is easiest for beginners to use.
• Closure: Zippers (6-10 inches) are most common, but you can also use buttons or snaps.
• Thread: Match the color of your thread to the fabric for a professional finish.
• Tools: Sewing machine (or needle for hand sewing), scissors, pins or clips, measuring tape, iron, and sewing needle.
Pro Tip: For a truly professional look, consider using a thicker fabric for the outer layer and a brightly colored lining fabric so the bag's contents are easily visible.
Sewing Instructions
Step 1: Pattern Making and Fabric Cutting
First, determine the size of your bag. Standard makeup bags measure approximately 9 inches x 7 inches, but you can customize yours.
Cut two identical rectangles from each of the main fabric, lining fabric, and interlining fabric. If you want the bottom of the bag to be box-shaped, mark squares (usually 2x2 inches) in the bottom corners to create the box shape.
Step 2: Attaching the Interlining Fabric
Following the manufacturer's instructions, adhere the interlining fabric to the wrong side of the main fabric. This crucial step secures the bag's structure and ensures it retains its shape. Use an iron set to the appropriate temperature to ensure a smooth adhesion without wrinkles or bubbles.
Step 3: Attaching the Zipper
Place the zipper, right side down, along the top edge of a piece of main fabric, with the zipper teeth facing the fabric. Place a piece of lining on top, sandwiching the zipper between the main fabric and the lining. Secure with pins.
Using the zipper foot on your sewing machine, sew along the edge, being careful to maintain an even distance between the zipper teeth. Repeat this step with the remaining main fabric and lining to sew the other side of the zipper.
After sewing both sides, press the fabric away from the zipper teeth to even out the edges. For a professional finish, add topstitching close to the zipper.
Step 4: Assemble the Sides of the Bag
Important Tip: Open the zipper halfway at this point to ensure you can turn the bag right side out later.
Lay the main fabric right side up and the lining right side up on top of each other, aligning all edges. Pin the bag, leaving a 3-4 inch gap at the bottom of the lining for flipping.
Sew the entire bag using a 1/4 to 1/2 inch seam allowance, taking care not to sew past the end of the zipper. For increased durability, especially if using a sewing machine, consider using a zigzag stitch. Trim excess fabric from the corners to reduce bulk.
Step 5: Flip and Finish
Putting your hand through the gap left by the lining, flip the entire bag inside out. Using a blunt object (such as a chopstick or knitting needle), gently push the corners outward to create a more defined shape. Sew the lining opening closed by hand or machine.
Finally, iron the finished bag to smooth out any wrinkles and create a professional-looking edge.
Customization Ideas
The beauty of sewing your own personal makeup bag lies in the endless customization possibilities:
• Interior Organization: Add pockets or compartments for convenient storageep different cosmetic categories separate. Measure and mark pocket placements directly onto your lining fabric before assembly.
• Decorative Elements: Embellish with embroidery, fabric paint, or iron-on patches before assembling your bag. Add a personal touch by embroidering initials or a favorite design.
• Handle or Strap: Create a fabric handle for easy carrying. Cut a strip of fabric (approximately 3x6 inches), fold it lengthwise with right sides together, sew along the long edge, turn it right side out, and attach to the sides of your bag.
• Mixed Materials: Combine different fabrics for a unique patchwork effect, or add lace, ribbons, or decorative trims.
Professional Tips for Success
Based on our manufacturing experience, here are key tips to ensure your handmade makeup bag looks professional:
• Fabric Selection: Avoid fabrics that are too thick or too thin, as they can make sewing difficult or cause the bag to lose shape. Medium-weight cotton or canvas works best.
• Precision Matters: Double-check all measurements before cutting. Inaccurate measurements are a common source of fitting issues.
• Zipper Selection: Choose a zipper that's the appropriate length for your bag. A zipper that's too long or too short can result in difficulty during assembly and a poorly finished look.
• Reinforce Stress Points: Add extra stitching at corners and where handles attach to ensure durability, especially if you plan to carry heavier items.
• Finishing Touches: Don't overlook details like trimming threads, pressing seams, and neatening edges. These final touches significantly impact the professional appearance of your finished bag.
Common Mistakes to Avoid
Even experienced sewists can make these errors when creating makeup bags:
• Skipping the interfacing, which results in a flimsy bag that won't hold its shape.
• Forgetting to open the zipper before final assembly, making it impossible to turn the bag right side out .
• Using the wrong seam allowance, which can alter the final size and proportions of your bag.
• Not reinforcing stitches at stress points, leading to premature wear and tear.
Quality Control Checklist
As a manufacturer, we use quality control checklists for all our products. For your handmade makeup bag, ensure:
• All seams are straight and secure with no skipped stitches
• The zipper opens and closes smoothly without catching
• The bag stands upright and maintains its shape when empty
• There are no loose threads or uneven edges
• Any decorative elements are securely attached
Conclusion
Sewing your own makeup bag is a satisfying project that results in a functional, personalized accessory. By following these steps and incorporating your creative touches, you can produce a professional-quality cosmetic bag that perfectly suits your needs and reflects your style.
The skills you develop through this project can be applied to creating various types of bags and accessories. Remember that practice improves your technique, so don't be discouraged if your first attempt isn't perfect.
As a bag manufacturer, I appreciate the craftsmanship and attention to detail that goes into every handmade item. Whether you're making this bag for personal use, as a gift, or to sell, the care you put into its creation will be evident in the final product.
Happy sewing!

As a bag maker, I understand the allure of creating something both beautiful and practical. Sewing your own makeup bag is a truly fulfilling project that not only allows for full customization but also provides a valuable insight into the craftsmanship behind bag making. Whether you're a beginner or an experienced seamstress, this guide will help you create a professional-looking makeup bag that's perfect for your collection or as a personalized gift.
Why Sew Your Own Makeup Bag?
Making your own makeup bag offers numerous advantages over mass-produced bags. When you sew your own, you have complete control over the design, fabric, and sizing, allowing you to create a product that perfectly suits your specific needs and reflects your personal style.
From a manufacturer's perspective, I appreciate that DIY sewing allows for quality control that's often missing from factory production. You can choose durable materials and reinforce stress points to ensure your makeup bag can withstand daily use. It's also a cost-effective alternative to expensive store-bought products, especially when using scrap fabric or repurposing old clothing.
For those who care about sustainability, sewing your own bag is an eco-friendly choice that reduces waste and contributes to a more sustainable lifestyle by giving new life to materials that might otherwise be discarded.
Materials Required
Before beginning your project, gather the following essential materials:
• Fabric: Choose a medium-weight fabric such as cotton, canvas, or linen for durability and ease of sewing. You'll need about 1/2 yard of fabric for the main fabric and lining.
• Interlining: This adds structure and stability to the bag. Heat-fused interlining is easiest for beginners to use.
• Closure: Zippers (6-10 inches) are most common, but you can also use buttons or snaps.
• Thread: Match the color of your thread to the fabric for a professional finish.
• Tools: Sewing machine (or needle for hand sewing), scissors, pins or clips, measuring tape, iron, and sewing needle.
Pro Tip: For a truly professional look, consider using a thicker fabric for the outer layer and a brightly colored lining fabric so the bag's contents are easily visible.

Sewing Instructions
Step 1: Pattern Making and Fabric Cutting
First, determine the size of your bag. Standard makeup bags measure approximately 9 inches x 7 inches, but you can customize yours.
Cut two identical rectangles from each of the main fabric, lining fabric, and interlining fabric. If you want the bottom of the bag to be box-shaped, mark squares (usually 2x2 inches) in the bottom corners to create the box shape.
Step 2: Attaching the Interlining Fabric
Following the manufacturer's instructions, adhere the interlining fabric to the wrong side of the main fabric. This crucial step secures the bag's structure and ensures it retains its shape. Use an iron set to the appropriate temperature to ensure a smooth adhesion without wrinkles or bubbles.
Step 3: Attaching the Zipper
Place the zipper, right side down, along the top edge of a piece of main fabric, with the zipper teeth facing the fabric. Place a piece of lining on top, sandwiching the zipper between the main fabric and the lining. Secure with pins.
Using the zipper foot on your sewing machine, sew along the edge, being careful to maintain an even distance between the zipper teeth. Repeat this step with the remaining main fabric and lining to sew the other side of the zipper.
After sewing both sides, press the fabric away from the zipper teeth to even out the edges. For a professional finish, add topstitching close to the zipper.

Step 4: Assemble the Sides of the Bag
Important Tip: Open the zipper halfway at this point to ensure you can turn the bag right side out later.
Lay the main fabric right side up and the lining right side up on top of each other, aligning all edges. Pin the bag, leaving a 3-4 inch gap at the bottom of the lining for flipping.
Sew the entire bag using a 1/4 to 1/2 inch seam allowance, taking care not to sew past the end of the zipper. For increased durability, especially if using a sewing machine, consider using a zigzag stitch. Trim excess fabric from the corners to reduce bulk.
Step 5: Flip and Finish
Putting your hand through the gap left by the lining, flip the entire bag inside out. Using a blunt object (such as a chopstick or knitting needle), gently push the corners outward to create a more defined shape. Sew the lining opening closed by hand or machine.
Finally, iron the finished bag to smooth out any wrinkles and create a professional-looking edge.

Customization Ideas
The beauty of sewing your own personal makeup bag lies in the endless customization possibilities:
• Interior Organization: Add pockets or compartments for convenient storageep different cosmetic categories separate. Measure and mark pocket placements directly onto your lining fabric before assembly.
• Decorative Elements: Embellish with embroidery, fabric paint, or iron-on patches before assembling your bag. Add a personal touch by embroidering initials or a favorite design.
• Handle or Strap: Create a fabric handle for easy carrying. Cut a strip of fabric (approximately 3x6 inches), fold it lengthwise with right sides together, sew along the long edge, turn it right side out, and attach to the sides of your bag.
• Mixed Materials: Combine different fabrics for a unique patchwork effect, or add lace, ribbons, or decorative trims.
Professional Tips for Success
Based on our manufacturing experience, here are key tips to ensure your handmade makeup bag looks professional:
• Fabric Selection: Avoid fabrics that are too thick or too thin, as they can make sewing difficult or cause the bag to lose shape. Medium-weight cotton or canvas works best.
• Precision Matters: Double-check all measurements before cutting. Inaccurate measurements are a common source of fitting issues.
• Zipper Selection: Choose a zipper that's the appropriate length for your bag. A zipper that's too long or too short can result in difficulty during assembly and a poorly finished look.
• Reinforce Stress Points: Add extra stitching at corners and where handles attach to ensure durability, especially if you plan to carry heavier items.
• Finishing Touches: Don't overlook details like trimming threads, pressing seams, and neatening edges. These final touches significantly impact the professional appearance of your finished bag.

Common Mistakes to Avoid
Even experienced sewists can make these errors when creating makeup bags:
• Skipping the interfacing, which results in a flimsy bag that won't hold its shape.
• Forgetting to open the zipper before final assembly, making it impossible to turn the bag right side out .
• Using the wrong seam allowance, which can alter the final size and proportions of your bag.
• Not reinforcing stitches at stress points, leading to premature wear and tear.
Quality Control Checklist
As a manufacturer, we use quality control checklists for all our products. For your handmade makeup bag, ensure:
• All seams are straight and secure with no skipped stitches
• The zipper opens and closes smoothly without catching
• The bag stands upright and maintains its shape when empty
• There are no loose threads or uneven edges
• Any decorative elements are securely attached

Conclusion
Sewing your own makeup bag is a satisfying project that results in a functional, personalized accessory. By following these steps and incorporating your creative touches, you can produce a professional-quality cosmetic bag that perfectly suits your needs and reflects your style.
The skills you develop through this project can be applied to creating various types of bags and accessories. Remember that practice improves your technique, so don't be discouraged if your first attempt isn't perfect.
As a bag manufacturer, I appreciate the craftsmanship and attention to detail that goes into every handmade item. Whether you're making this bag for personal use, as a gift, or to sell, the care you put into its creation will be evident in the final product.
Happy sewing!
How to Organize Your Makeup Bag
How to Clean a Canvas Bag (The Ultimate Guide!)